For my interdisciplinary metal skin, I decided to make Mathew's
found object, which is a tree trunk. I met Mathew during our first tutorial
class and he said he would like to make a metal skin of a tree trunk because
it's reflect his degree 'Landscape Architecture'. Tree trunk is the basic raw
construction materials use even before the other building material technologies
developed and well reflected the built environment. He shared a couple of tips
and tricks from his experiences in regards to working with his radical slices
form-work of tree trunk. As the form-work is quite fragile and cannot be use as
a base to hammer onto, unlike my previous camera form-work which is quite bulky
and solid.

He also suggested me not to get the skin to cover the whole trunk, which is too complicated and advised me to stick to one side of the trunk. I follow his suggestion and picked one side of the trunk, which I think it has more shape.

The first step making the aluminium skin is to cut into 150 mm* 300 mm sheet just enough to cover the selected half of tree trunk form-work.

Using the roller and fit the sheet to a suitable level and start bending to follow the curve shape of form-work. Need to check visually, because i don't want the sheet to over bend and stop rolling once I got the desired curve.


Put the 3D model and rolled metal sheet to check if it fitting well and it is always good to use 3D model as a reference.

Both curve end sides need to be flatten to fit in 3D model perfectly, I used the flat hammer to flatten the curve.

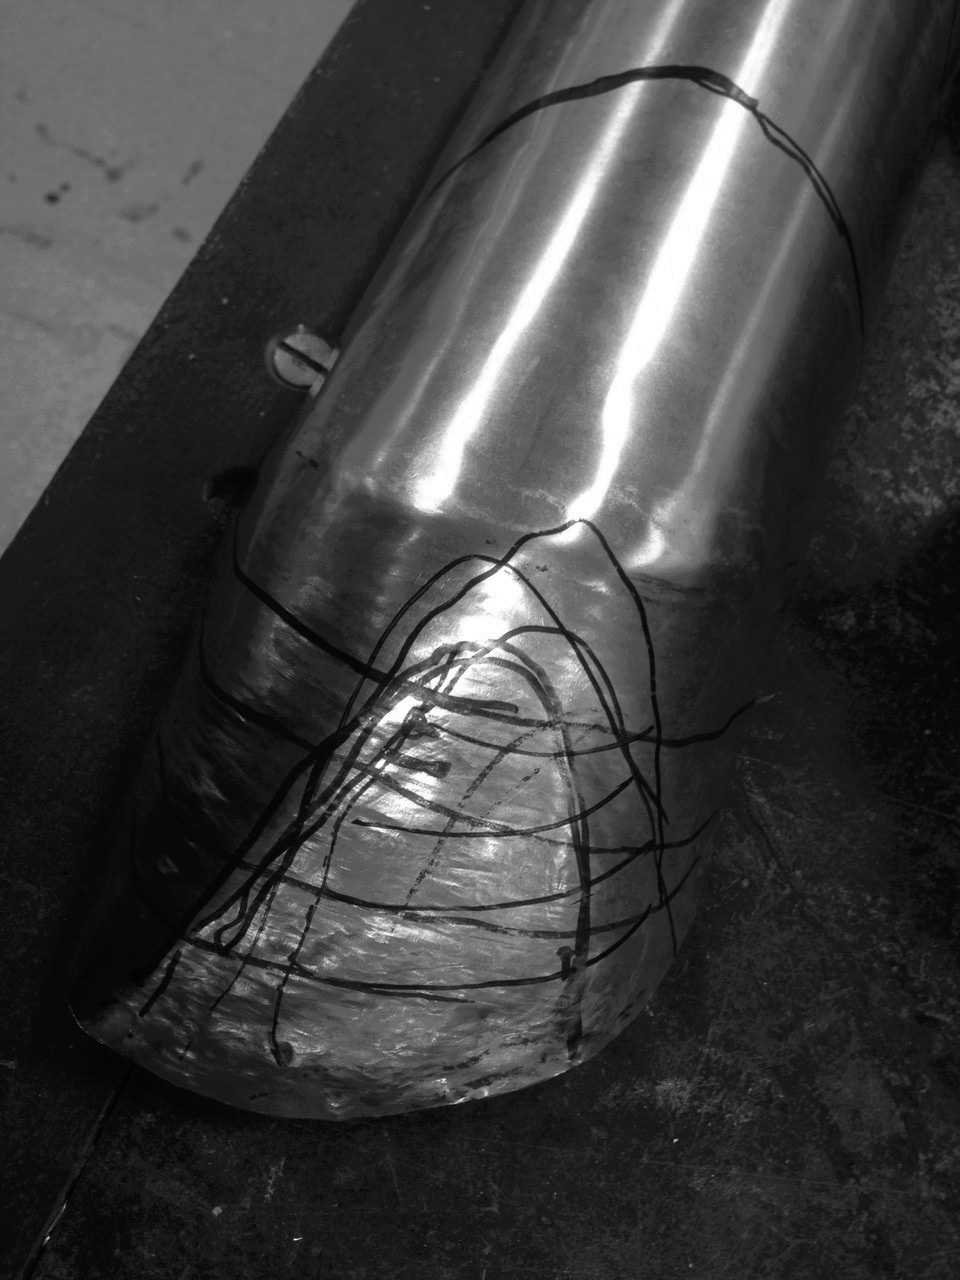
After flatten out the both sides, the sharp edges are cut off to contour the 3D model. And started marking the skin to shape the contour.

At this stage, I used this timber form work which curve shape is closest to 3D model as a base and start pushing down with mullet according to marked contour lines. Kept pushing down till I get the desired contour. Often use both hands to maneuver the metal to maintain the curve shape.


Once the desired contour is achieved on one side, put the 3D model back into the sheet to mark out and cut off unnecessary bits on the other end. This allows me to save energy and time.

Started marking the skin to shape the contour at this end.

Using the timber form work as a base and start pushing down with mullet according to marked contour lines. Kept pushing down till I get the desired contour.

It is good to check with 3D model regularly because once the metal sheet was bent to a certain level, it is too difficult to bring it back. Minimize the gaps between 3D model and metal skin for a better contour.
FINAL RESULT


I was fairly pleased with how the skin turned out at the end,
thanks to Mathew’s kind advice throughout the process. The longer time
spending in the workshop, the more familiar with the tools and easier to shape
the metal sheet. Experimenting with different tools is crucial because only
with the right tools, the desire result can be achieve. Helping each other in
the workshop and taking turns to use the tools is fun. Important thing I learnt
from this metal sheeting experience was that working together with students
from other discipline allow me to look at the things from different
perspectives which is beneficial for me as an Architecture student. This course
prepare me to work in built environment with others in a professional
manner.
No comments:
Post a Comment